
Quick Summary
You can buff out scratches at home if they are shallow and sit only in the clear coat, usually in under an hour. Start with a fingernail test and a wet test to confirm depth. Then work with a mild compound and microfiber cloth in small sections, stopping as soon as the scratch fades.
- The fingernail test shows whether a scratch catches or glides, indicating clear-coat depth.
- A scratch that vanishes when wet is a strong candidate for polishing.
- Start with a mild compound and work up to a more aggressive product only if needed.
- Buff in small sections using gentle pressure and small circular motions.
- Do not buff scratches showing primer or bare metal; get a professional assessment instead.
Table of Contents
- How to Tell Whether a Scratch Is Minor Enough to Buff Out
- Tools and Materials for Beginners
- Step-by-Step: How to Buff Out Scratches by Hand
- When to Use an Orbital or Machine Polisher Instead
- Matching the Product and Tool to the Scratch Severity
- Avoiding Paint Damage and Knowing When to Stop
- Protecting the Finish After Your Repair and Booking a Professional Assessment
- Frequently Asked Questions
Last Updated: November 4, 2026
Minor car scratches are one of the most common cosmetic problems for drivers, and many of them can be fixed at home: you can often buff out scratches in under an hour.
This guide walks you through seven steps, from checking the scratch depth to protecting the finish once you are done. Most of the work is simple, but it does require patience and a light touch.
How to Tell Whether a Scratch Is Minor Enough to Buff Out
Before you buy any compound, you need to know how deep the scratch goes. A scratch that sits only in the clear coat can often be polished out. A scratch that cuts through the clear coat into the color layer or primer usually needs a touch-up or professional repair. The goal of this section is to give you a repeatable way to sort scratches into three tiers so you do not waste time polishing damage that buffing cannot fix.
A Repeatable Scratch-Depth Test
Start with the surface clean and dry, then work through these checks in order. Each one is indicative rather than definitive, but together they give you a reliable read on depth.
- The fingernail test. Run your fingernail gently across the scratch at a right angle to its direction. If your nail glides over it without catching, the damage is likely confined to the clear coat. If your nail drops into a groove, the scratch has likely gone deeper into the paint.
- The light-angle test. View the panel at a low angle under a bright, focused light. A clear-coat scratch appears as a fine line that changes color or brightness as you shift your viewing angle. A scratch that stays dark or shows a different color underneath is deeper.
- The wet test. Wipe the area with a clean, water-dampened microfiber cloth. Many clear-coat scratches disappear or fade dramatically when wet because the water temporarily fills the groove and matches the refractive index of the clear coat. If the scratch vanishes when wet and returns when dry, it is a strong candidate for polishing. If it remains visible when wet, it is likely through the color layer.
- The color check. Look for primer (usually gray or white), bare metal, or a color that does not match the surrounding paint. Any of these means the scratch has breached the color coat and buffing alone will not restore it.
Treat these tests as a screening tool, not a guarantee. A scratch that passes all four checks is a good candidate for hand polishing; one that fails the wet test or shows primer should go to a professional assessment.
Three Severity Tiers and What Each One Means for Buffing
- Tier 1, Clear-coat only. Fine lines from car washes, drying towels, branches, or light contact. These change appearance with the light angle and often disappear when wet. Hand polishing with a fine polish or a light compound can usually improve or remove them.
- Tier 2, Through the clear coat into color. You can see a distinct groove and some color loss, but no primer or metal. Buffing may soften the edges and reduce visibility, but it will not rebuild the missing paint. This tier is where touch-up paint or a professional repair becomes the realistic option.
- Tier 3, Through the color coat to primer or metal. Visible primer, bare metal, or a noticeable dip in the surface. Do not buff these. Buffing thins the surrounding clear coat and can make the damage look worse. These need touch-up, paint correction by a technician, or body repair.
Clear-Coat Scratches Versus Deeper Paint Damage
Clear-coat scratches are the most common type of minor damage from car washes, branches, and light contact with other objects.
Deeper paint damage tends to look like a distinct groove with visible color loss.
Watch out: the fingernail test can give a false negative on soft or freshly cured paint, so confirm any borderline scratch with the wet test before you start polishing.
Tools and Materials for Beginners
You do not need expensive equipment to start. Most beginners need only a few basic items:
- A rubbing or scratch-removal compound made for automotive clear coat
- Two or three clean microfiber cloths
- A foam polishing pad (for machine use only, if you choose that route later)
Start with a mild compound. A more aggressive product can remove more clear coat than you intend, so it is better to work up from the gentlest option that still does the job.
Step-by-Step: How to Buff Out Scratches by Hand
Hand buffing works well for light surface scratches and gives you more control than a machine. Work slowly, check your progress often, and stop as soon as the scratch fades.
Cleaning and Drying the Scratched Area
Wash the panel with car wash soap and water to remove dirt, grit, and road film. Ensuring the surface is entirely free of debris is essential for protecting your paint, much like the careful preparation required when removing old vehicle decals without paint damage.
Clean the surface again if you see any debris. A clean, dry surface helps you judge the scratch accurately and keeps the compound working as intended.
Applying Compound and Buffing in Small Sections
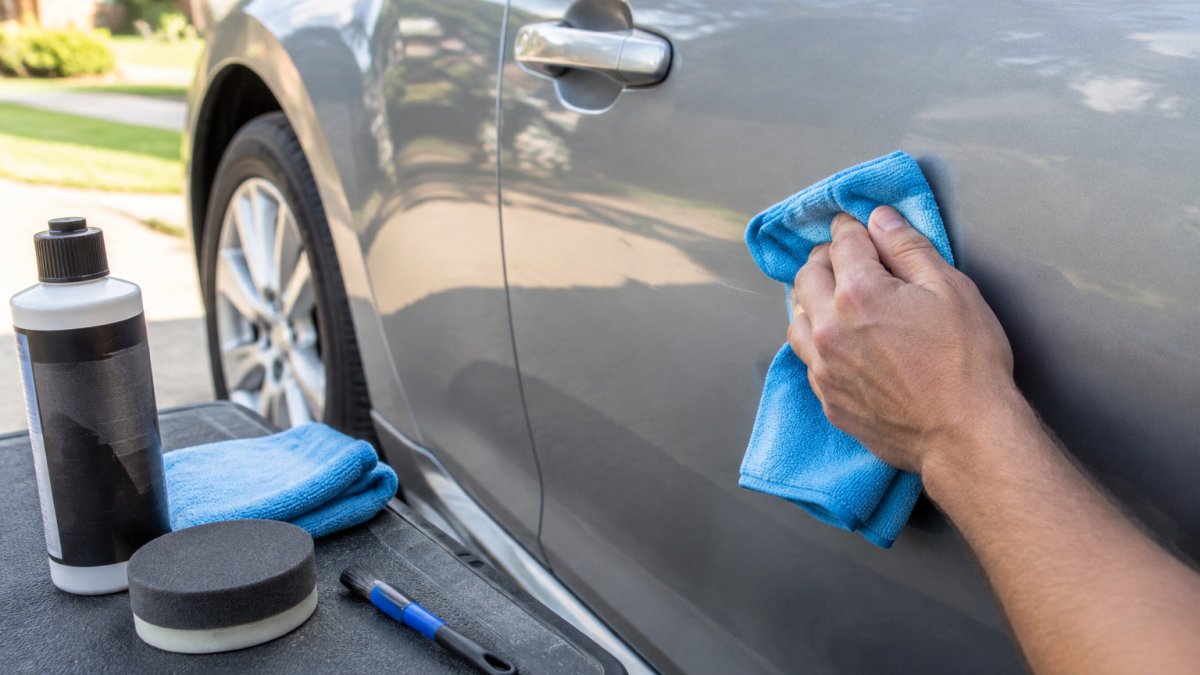
Apply a small amount of compound to a clean microfiber cloth or applicator pad. Work on a section about the size of your hand.
Buff for about 30 to 60 seconds, then wipe away the residue with a clean cloth. Inspect the finish in good light.
Watch out: rubbing hard in one place can burn through the clear coat in minutes.
When to Use an Orbital or Machine Polisher Instead
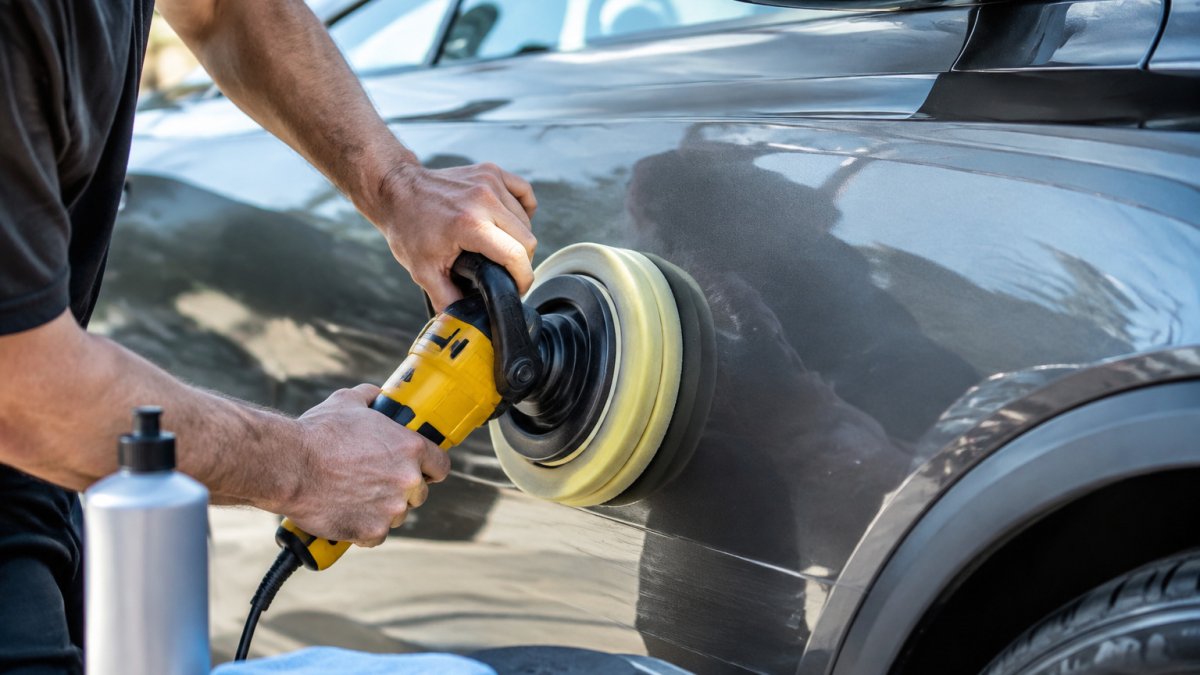
A dual-action orbital polisher can speed up the job and help with slightly larger areas. It is a better choice when hand buffing leaves swirl marks or when the scratch is wide enough that hand pressure cannot fully level the surface.
Machines also carry more risk. The pad spins fast and can cut into the paint quickly if you stay in one spot.
If you are not comfortable with a machine, it is reasonable to stick with hand buffing or talk to a professional.
Matching the Product and Tool to the Scratch Severity
Most DIY scratch guides treat every scratch the same: buy a compound, rub it in, hope for the best. That is why so many owners either leave a scratch half-fixed or thin the clear coat trying to fix damage that polishing was never going to remove. Use the tier you assigned in the depth test above to pick the lightest method that can actually work, and stop there.
A Severity-Matched Decision Path
- Tier 1, very light surface marks (swirls, towel marks, faint lines). Start with a fine finishing polish and a soft foam applicator by hand. These marks usually respond to light work in one or two passes. If the mark remains after two careful passes, step up to a light compound rather than pressing harder.
- Tier 1, moderate clear-coat scratches (a line you can feel slightly but that passes the wet test). Use a light to medium rubbing compound with a microfiber cloth or a foam polishing pad. Work in small sections and inspect after each pass. This is the sweet spot for hand buffing.
- Tier 2, scratches into the color layer. Buffing can soften the edges and make the scratch less obvious, but it will not restore the missing paint. The realistic path is a light polish to clean up the surrounding area, followed by touch-up paint applied in thin layers, or a professional assessment if the area is large or on a visible panel.
Product Types and What They Actually Do
- Finishing polish. The least aggressive option. It refines the clear coat and removes very fine marks without removing meaningful film build. Best first choice for light swirls and faint lines.
- Rubbing or scratch-removal compound. More aggressive than polish. It levels the clear coat around a scratch so the edges blend. Use it only when polish has failed, and use the least aggressive grade that works.
- Touch-up paint. Not a polishing product. It fills a scratch that has gone through the color coat. Apply thin layers, let them cure, and do not try to buff fresh touch-up paint.
A Simple Rule of Thumb
Start with hand buffing and a fine polish. Move to a compound only if the scratch remains after two careful passes. Use a machine only for larger areas that hand work cannot finish evenly, and only on Tier 1 damage.
The table below sums up which method suits each severity tier, so you can pick the lightest option that can work.
| Severity tier | Typical damage | Recommended approach |
|---|---|---|
| Tier 1, Clear-coat only | Fine lines from washes, towels, branches | Finishing polish by hand, then light compound if needed |
| Tier 1, Moderate | Line you can feel but that passes the wet test | Light to medium compound with microfiber or foam pad |
| Tier 2, Into color layer | Visible groove with color loss, no primer | Light polish, then touch-up paint or professional assessment |
| Tier 3, To primer or metal | Visible primer, bare metal, or surface dip | Do not buff; touch-up to seal or technician assessment |
| Wide area or swirl marks | Larger area hand work cannot finish evenly | Dual-action orbital polisher, only on Tier 1 damage |
Avoiding Paint Damage and Knowing When to Stop
The biggest risk in DIY scratch repair is removing too much clear coat. Once the clear coat is thin, the paint underneath is exposed to sun and weather, and the damage is much harder to fix.
Stop when the scratch is no longer visible or when you start to see the color layer. Do not keep buffing in hopes of a better result.
If the scratch is still visible after two or three careful attempts, or if the area starts to look dull or uneven, it is time to stop and get a professional opinion. A professional hail damage assessment explains what a technician looks for and how to choose between DIY and a pro. A technician can assess the depth and recommend a safer repair.
Protecting the Finish After Your Repair and Booking a Professional Assessment
Once the area is clean and the scratch is improved, protect the finish with a wax or paint sealant. For a clear aftercare timeline and safe washing habits, see our guide to keeping repair results lasting.
Wash the car gently in the weeks that follow. Use a clean mitt, rinse often, and avoid automatic car washes with abrasive brushes for a while.
If the scratch is deep, spreads, or you are not sure how far it goes, book a free inspection with 888 PDR. Our team can look at the damage in person and explain your options.
Frequently Asked Questions
Is it possible to buff out minor scratches on a car?
Yes, minor scratches that sit only in the clear coat can often be buffed out at home. Clean the area, apply a small amount of scratch-removal compound to a microfiber cloth or pad, and work it in gentle circular motions over a small section. Check your progress under good light after each pass. If the scratch still catches your fingernail after a few careful attempts, it has likely gone past the clear coat and needs a professional assessment rather than more buffing.
Does WD-40 remove scratches from a car?
WD-40 does not remove scratches. It is a lubricant and solvent, not an abrasive polish, so it can make a scratch look slightly less visible for a short time by filling it temporarily, but it does not level the clear coat. The scratch returns once the product wears off or is washed away. For lasting results, use a dedicated scratch-removal compound or polish designed for automotive clear coat.
What is the difference between a clear coat scratch and a deep scratch?
A clear coat scratch only cuts through the transparent top layer of paint, so the color underneath is still intact and the mark usually looks lighter or hazy. A deeper scratch goes through the clear coat into the colored base coat or primer, and it often shows a different color or bare metal at the bottom. Run your fingernail across the mark: if it does not catch, it is usually a clear coat scratch, and if it catches, the damage is likely deeper.
Can I use toothpaste to buff out car scratches?
Toothpaste is sometimes suggested for very light surface marks, but it is not formulated for automotive paint and can leave haze or uneven spots. A purpose-made scratch-removal compound or polish with controlled abrasives gives more predictable results. If you choose to test a mild product first, do it on a small hidden area of the panel and check the result before working on the visible scratch.
