
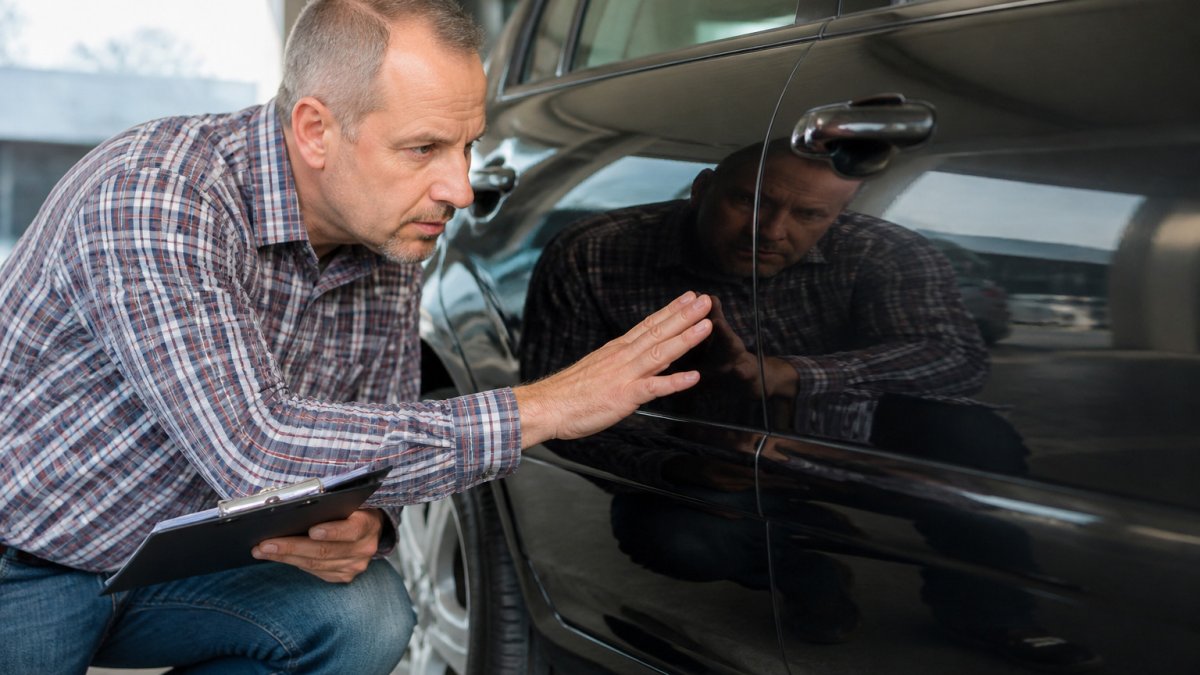
Quick Summary
To inspect used car bodies, walk the car in good light, photograph every panel, and check panel gaps, paint color, overspray, and fastener marks for signs of repair. Use a low-angle flashlight and a magnet to test for filler. Hidden damage often shows as uneven gaps, mismatched paint, or disturbed bolts.
- Photograph every panel from several angles before touching anything to create a baseline record.
- Use a flashlight held low to reveal ripples and dents that flat overhead light hides.
- Measure gaps on both sides of the car and compare them for uneven spacing.
- Look for paint on rubber seals, overspray, and bolts with chipped paint or clean threads.
- Structural damage is a safety decision, so get an expert opinion or walk away.
Table of Contents
- Start With a Documented Walk-Around Inspection
- Check Panel Gaps, Alignment, and Fastener Marks
- Signs of Repainting on a Used Car
- How to Use a Paint Thickness Gauge on a Car
- How to Inspect a Car for Frame Damage
- Used Car Body Damage Checklist: Bumpers, Underbody, and Rust
- Booking Your Next Step: Decide, Negotiate, or Get a Repair Estimate
- Frequently Asked Questions
Before you commit to a used car, a close look at its body can help you avoid costly surprises. Hidden hail, collision, and repaint damage often survive a quick glance, and many buyers only notice the problem after the first rainstorm reveals a wavy panel or mismatched shade.
Federal Trade Commission guidance on used car buying advises buyers to inspect a vehicle closely and check its history before purchase. The steps below follow that advice in plain order.
Start With a Documented Walk-Around Inspection
Walk the car in good light and take photos of every panel before you touch anything, because a careful inspect used car routine starts with a documented record. Learn how to identify hidden hail damage on a car roof using angled light before anything gets missed.
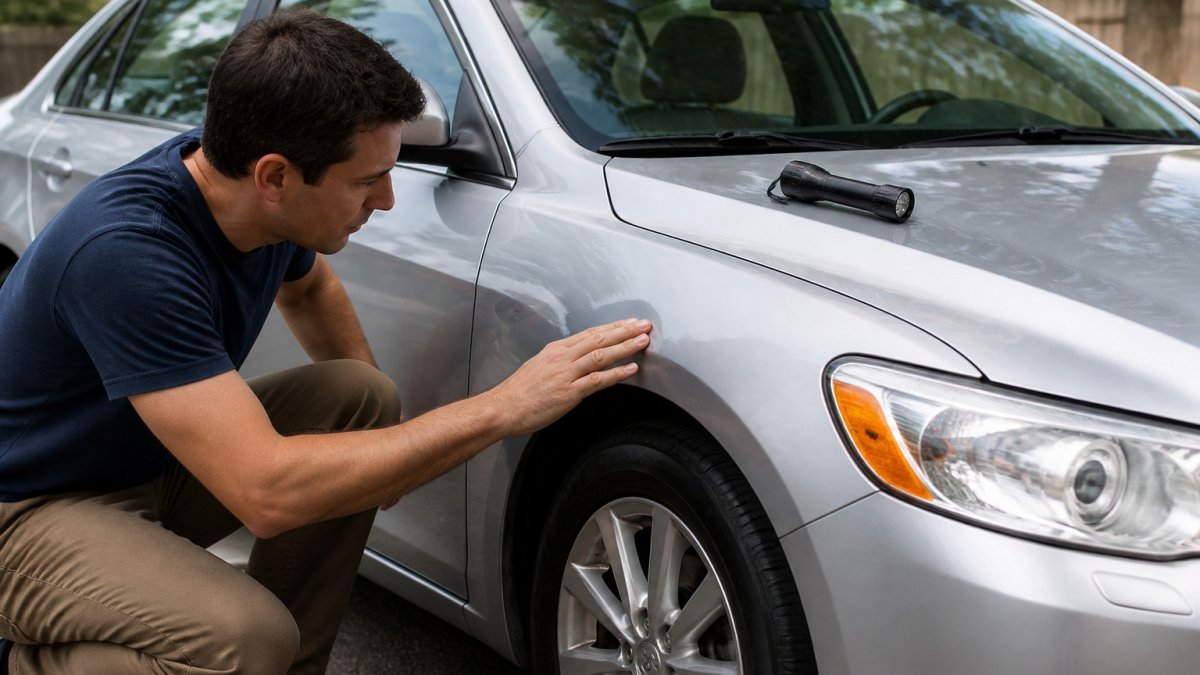
A documented walk-around gives you a baseline and helps you show a seller or insurer what you saw. Learn what photos and records to keep so your documentation holds up if you pursue a claim.
Lighting, Angles, and Tools to Bring
Overhead light hides small dents. Use a flashlight held low and sweep it across each panel, which shows ripples that flat light misses.
Bring a few simple tools:
- A bright LED flashlight
- A small magnet to test for body filler
- A microfiber cloth to clean dusty spots
Watch out: Do not assume a clean paint surface means clean metal. Fresh paint can cover filler, so check panel edges and gaps too.
Check Panel Gaps, Alignment, and Fastener Marks
Uneven gaps between doors, the hood, and the fenders often point to past impact. Measure the gap on both sides of the car and compare them.
Look at fastener marks on bolts and seams. Scratches or broken paint on a bolt head suggest a panel has been removed, which usually means repair work.
- Compare gaps left to right
- Look for paint on rubber seals
- Check that bolts show clean, untouched threads
Signs of Repainting on a Used Car
Repainting is the most common way hidden body damage gets covered up, so slow down here. A single repainted panel is not automatically a red flag, bumpers and hoods get refinished for stone chips all the time. What matters is the pattern: how many panels were refinished, whether the work lines up with a plausible repair, and whether the finish quality suggests a quick cover-up or a proper job.
Work through these indicators in order. Each one is a data point, not a verdict.
Paint color and finish consistency
Stand at the front corner and sight down the side at a low angle, with the sun or a bright overhead light behind you.
Metallic and pearlescent finishes are the hardest to match. A refinisher who did not blend into adjacent panels often leaves a visible transition at the panel edge or around the wheel arch.
Finish texture is the second tell. Factory paint is applied in a controlled booth and usually has a fine, even texture.
Overspray and masking evidence
Overspray is paint mist that lands where it should not. Check these spots on every car:
- Window glass edges and the rubber weatherstrip around them
- Door handles, mirrors, and emblems
- The rubber seals between panels and the plastic trim at the base of the windshield
A proper shop removes or masks trim before painting. A quick job leaves a fine grit of paint on rubber and plastic that you can feel with a fingernail. Look also for a hard tape line, a crisp edge where paint stops, on a panel that should have a soft factory transition.
Panel gaps and alignment
Gaps between doors, hood, fenders, and the trunk or hatch should be even side to side and consistent top to bottom. Measure with your fingers or a small ruler at the same reference point on each side.
Also check that panels sit flush. Run a hand along the seam where the fender meets the door and where the hood meets the fenders.
Fastener and seam-sealer evidence
Bolts holding fenders, hoods, and doors usually have factory paint or a witness mark across the head and panel. A bolt with chipped paint, a missing witness mark, or clean threads where the rest of the car is dirty has likely been turned.
Seam sealer is the bead of flexible sealant applied at factory joints, along the inner fender aprons, the cowl, the trunk floor, and the rocker panels. Factory sealer is applied by robot and looks uniform.
What the pattern means
One refinished bumper cover on a ten-year-old car is normal wear. Three refinished panels on the same side, plus disturbed fasteners and fresh seam sealer, points to a collision repair. That does not automatically mean the car is unsafe, but move to the structural checks before you talk price. Hidden body work often suggests a lack of general maintenance, so verify the mechanical health of the vehicle by following our engine inspection checklist.
How to Use a Paint Thickness Gauge on a Car
A paint thickness gauge measures how thick the paint is on a panel. Factory paint usually measures in a consistent range.
Place the gauge flat on the panel and take several readings across it. Compare the same spot on matching panels on the other side of the car.
Watch out: Readings vary by car model and paint type. Use the gauge to compare panels against each other, not against a fixed number.
How to Inspect a Car for Frame Damage
Frame and structural damage is the line between a car you can negotiate on and a car you should walk away from. Cosmetic damage changes how the car looks. Structural damage changes how it protects you in a crash, and it is often the hardest thing to see because the repair is hidden under panels, carpet, and undercoating.
This section gives you a severity framework so you can sort what you find into three buckets: cosmetic, repairable structural, and walk-away structural.
Where to look, and what "normal" looks like
Get the car on a lift if you can, or at least ramps and a bright light. Look at these areas:
- Frame rails (front and rear): long box sections running fore and aft under the floor. Factory rails are straight with even, machine-applied seam sealer and uniform undercoating. Kinks, ripples, fresh welds, or a replaced section are structural red flags.
- Crumple zones: the engineered crush sections at the front and rear of the rails. Any crease, buckle, or wrinkle means the car has absorbed a hit.
- Strut towers and shock towers: suspension mounting points. Look for cracked paint, fresh seam sealer, or deformation around the bolt holes.
The severity framework
Use these three buckets to decide what to do next.
Cosmetic: dents, scratches, paint chips, a scuffed bumper cover, or a single refinished panel with no disturbed structure behind it.
Repairable structural: a bent bumper reinforcement bar, a replaced fender with disturbed fasteners but straight rails, or surface rust on a rocker that has not perforated the panel.
Walk-away structural: kinked or replaced frame rails, creased crumple zones, sectioned pillars, deformed strut towers, or fresh welds in the floor or cowl.
Modern-vehicle considerations
Newer cars carry sensors, cameras, and airbag components that broad used-car inspection advice often overlooks. Hidden damage around these systems can be expensive and, in the case of airbags, safety-critical.
- ADAS sensors and cameras: forward-facing cameras are usually mounted at the top of the windshield, and radar or sonar sensors sit behind bumper covers and grilles. After a front or rear impact, these may be misaligned or replaced. A replaced windshield or refinished bumper cover is a reason to ask whether the sensors were recalibrated, many manufacturers specify recalibration after that work.
- Airbags and seatbelt pretensioners: check that the airbag warning light illuminates briefly and goes out on startup. Look for a replaced steering wheel cover, a mismatched passenger-side dash panel, or seatbelt webbing newer than the rest of the interior, these can indicate deployed airbags were replaced, sometimes without the associated sensors.
- Wiring and connectors: look under the hood and behind bumper covers for non-factory wiring, taped splices, or connectors that do not match the surrounding harness, common shortcuts after a collision repair.
What to do when you suspect structural damage
- Document what you found. Photograph the rails, towers, pillars, and any disturbed fasteners or seam sealer. Note the location and what looked wrong.
- Ask for repair records. A seller who had a proper repair should have body shop invoices, alignment specs, and recalibration records. Missing records are a reason for caution, not proof of a problem.
- Arrange an independent inspection. A body shop or mobile pre-purchase inspector can put the car on a lift and check the structure properly. Expect to pay; treat it as insurance on a five-figure purchase.
- Use the findings in the decision. If the inspection confirms structural repair, walk away or renegotiate with a written estimate in hand. If it comes back clean, you have bought peace of mind for the cost of an hour of a professional's time.
Used Car Body Damage Checklist: Bumpers, Underbody, and Rust
Use this checklist during your inspection:
- Bumpers sit straight and line up with the body
- No cracks or loose brackets behind the bumper cover
- Underbody shows no fresh fluid stains or bent parts
Rust that bubbles through paint often signals moisture trapped under body panels. Check rocker panels and the bottom edge of each door.
Use this table to scan the main checks you should run on a used car's body, bumpers, and underbody.
| Check | What to look for | Why it matters |
|---|---|---|
| Bumpers | Straight, lined up with the body | Misalignment suggests impact damage |
| Bumper brackets | No cracks or loose brackets | Hidden cracks can point to a past collision |
| Underbody | No fresh fluid stains or bent parts | Fresh fluid or bent parts signal recent damage |
| Rust | Frame rails, rocker panels, wheel wells | Rust can signal moisture trapped under panels |
| Glass and lights | Matching brand stamps | Mismatched stamps suggest replacement |
| Doors | Even pressure when opening and closing | Uneven pressure can indicate frame or panel shift |
Booking Your Next Step: Decide, Negotiate, or Get a Repair Estimate
If you find minor hail or door damage, ask the seller for a price reduction that covers a repair. National Highway Traffic Safety Administration vehicle safety resources also lists recall and safety checks you can run on a used car before buying.
For a repair you already own, 888 PDR offers a free inspection. Before you commit, see how to choose a PDR technician and what to check in their credentials and estimate.
Our team at 888 PDR can also help with insurance claim handling. Call (469) 284-0336 to talk through your next step.
Frequently Asked Questions
How can you tell if a used car has been in an accident?
Look for uneven panel gaps, paint that does not match across adjacent panels, overspray on rubber trim or glass edges, and bolts with torque marks or broken paint seals. Then check a vehicle history report for reported collisions and insurance total-loss records. A history report only shows what was reported, so a clean report does not prove a car was never damaged. Repairs done without insurance often leave no record at all, which is why a hands-on visual inspection still matters.
How do you spot repainting or body filler on a used car?
Compare the paint color and gloss on each panel under bright, angled light, since repainted panels often look slightly darker, lighter, or flatter than the original. Run a paint thickness gauge across each panel and compare readings. Repainted or filled areas typically read noticeably thicker than factory paint. Check for dust or texture in the paint, orange-peel mismatches, and paint in the door jambs or under the hood that was missed during masking.
How can you check a used car for frame damage?
Inspect the frame rails and underbody for kinks, fresh welds, unpainted or mismatched seam sealer, and bolts with fresh tool marks. Check whether the doors, hood, and trunk open and close evenly and whether the gaps stay consistent. Frame damage is structural, so visual signs alone rarely settle the question. A pre-purchase inspection by a qualified body shop or mechanic with frame-measuring equipment is the reliable next step if anything looks wrong.
Should you get a professional inspection before buying a used car?
Yes, especially if your visual check turns up any sign of repair. A qualified mechanic or body shop can measure structure, check for hidden repairs, and scan for stored fault codes that point to past collisions. The inspection typically costs less than the cost of discovering a bad repair after the sale. Ask the shop to put its findings in writing so you can use them to negotiate or walk away.
