Last Updated: November 5, 2026
Quick Summary
To inspect paint quality after repairs, wash the panel, check it in direct sunlight, open shade, and artificial light, then feel for texture and compare paint thickness readings against an original panel. Photograph defects and record gauge numbers before you sign or pay.
- Wash the car first, because dust hides texture and makes a dull finish look normal.
- Metallic and pearl finishes should hold color from every angle, not just head-on.
- Compare three gauge readings on the repaired panel to three on an original panel like the roof.
- Match your baseline to the same material, since gauges read steel, aluminum, and plastic differently.
- Photograph panel gaps with a coin or finger in frame for scale before you accept the repair.
Table of Contents
- Start With a Vehicle Repair Inspection Checklist
- Car Paint Color Match Inspection Under Different Lighting
- Signs of a Bad Auto Paint Job: Texture, Runs, and Contamination
- How to Inspect Vehicle Paint Quality With a Paint Thickness Gauge
- Check Panel Gaps, Trim, and Door Function After Repairs
- Paintless Dent Repair Factory Finish: What to Expect
- Your Legal Rights and Next Steps If Repairs Fall Short
- Book a Free Paint and Dent Inspection at 888 PDR
- Frequently Asked Questions
Start With a Vehicle Repair Inspection Checklist
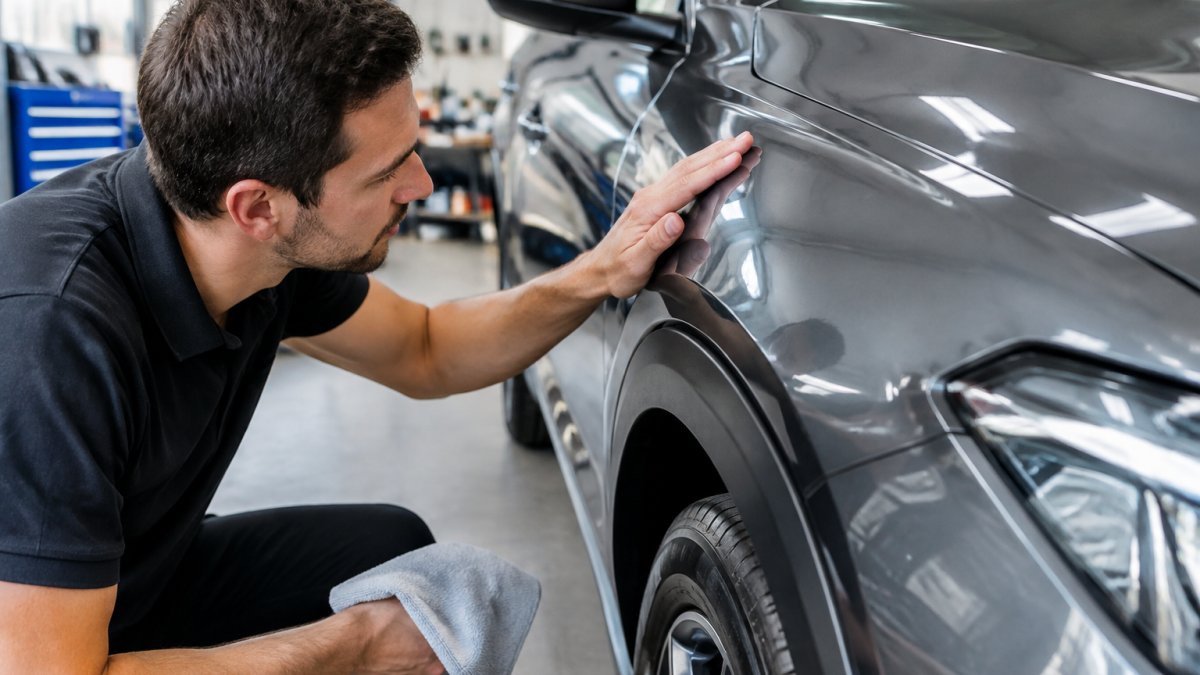
A repaired panel should look like it came from the factory, not from a spray booth. If you are learning how to inspect vehicle paint quality after repairs, start with a simple walk-around checklist before you touch anything.
Here is the order that catches the most problems:
- Wash the car or wipe the panel with a clean microfiber cloth
- Park it in daylight, then repeat the check under shade
- Look down each panel from a low angle, not straight on
A common mistake is inspecting a dirty car. Dust hides texture, and it makes a dull finish look normal. Clean the panel first, then judge it.
Do it before you sign anything or pay a balance. If you want a deeper hands-on method for spotting hidden body work, our guide on how to inspect a used car for hidden body damage walks through the flashlight, magnet, and panel gap checks step by step.
Car Paint Color Match Inspection Under Different Lighting
Color match is the first thing most people notice, and it is the easiest thing to get wrong. Paint that matches under a shop's fluorescent lights can look two shades off in direct sun.
Move the car through three conditions:
- Direct sunlight. Look at the repair panel and the panel next to it from several angles.
- Open shade. Cloud cover or a building shadow shows the true hue.
- Artificial lighting. A parking garage or gas station canopy at night reveals metallic flop differences.
Metallic and pearl finishes shift color as you walk around the car. A good color match holds up from every angle. A poor one looks right head-on and turns muddy or too bright from the side.
Watch out: a shop that blends into the neighboring panels can hide a slightly off base coat. The Federal Trade Commission's guidance on auto repair rights is worth reading so you know what you can ask a shop to correct.
Signs of a Bad Auto Paint Job: Texture, Runs, and Contamination
Bad paint usually announces itself through texture before it shows through color. Run your hand over the repair in a slow pass. Factory clear coat feels glassy and even.
Look for these signs of a bad auto paint job:
- Orange peel: a bumpy, citrus-skin texture in the clear coat
- Paint runs or sags: drips that hardened in place, usually near edges and curves
- Dust nibs: tiny specks trapped under the clear coat
Some texture is normal on factory paint too. The question is whether the repair panel looks noticeably different from the panels beside it.
This is also where filler shows up. Our comparison of paintless dent repair vs body shop fillers explains why filler-based repairs can age differently than a repair that keeps the original panel and paint intact.
Run your hand over the repair and watch for these specific defects.
| Sign | What it looks like |
|---|---|
| Orange peel | Bumpy, citrus-skin texture in the clear coat |
| Paint runs or sags | Drips that hardened in place near edges and curves |
| Dust nibs | Tiny specks trapped under the clear coat |
| Masking tape lines | A hard ridge where tape was pulled |
| Overspray | Rough mist on glass, trim, or rubber seals |
| Holograms or buffing marks | Swirl patterns from a polisher |
| Poor paint adhesion | Flaking or lifting at panel edges |
How to Inspect Vehicle Paint Quality With a Paint Thickness Gauge
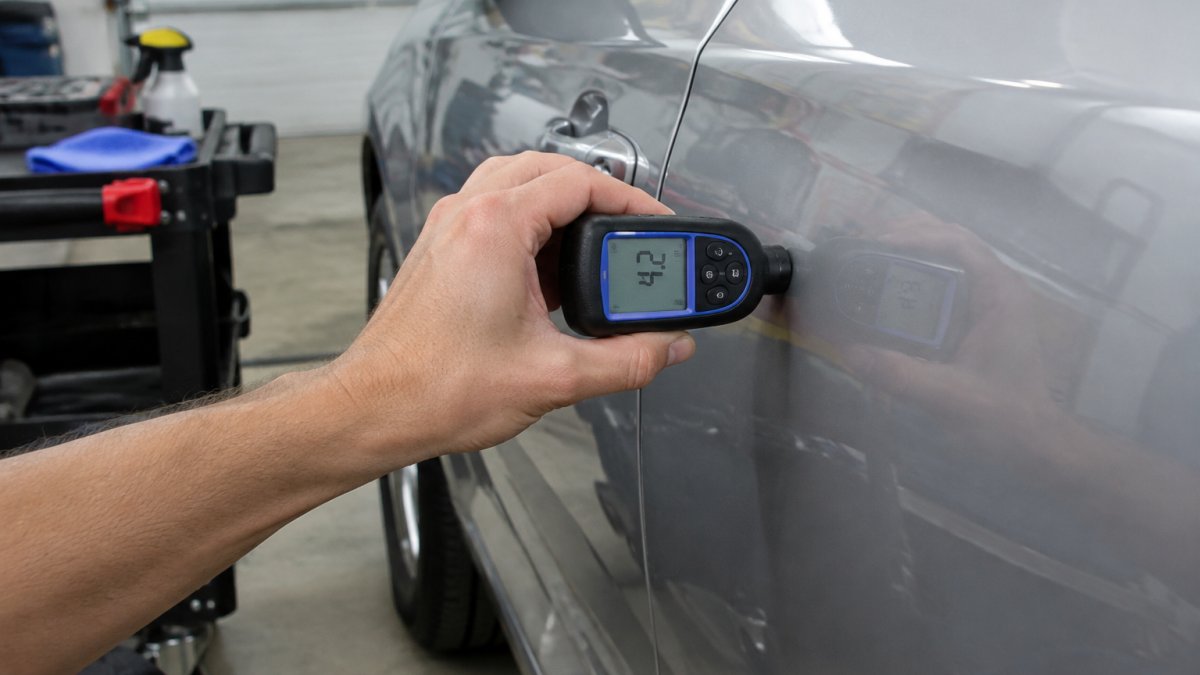
A paint thickness gauge is a small handheld meter that measures how thick the coating is on a metal or plastic panel. It gives you a number in mils (thousandths of an inch), and that number can help indicate whether a panel has been repainted or filled.
Know which gauge you are holding
There are two common types. A magnetic gauge works only on steel panels and pulls against the metal; it is inexpensive but useless on aluminum or plastic. An electronic gauge uses eddy current or ultrasonic sensing and can read steel, aluminum, and some plastics, which matters on modern vehicles with mixed-material bodies. If you are buying one for inspection, an electronic gauge that auto-detects the substrate is the safer choice.
Take a baseline before you judge the repair
Factory paint thickness varies by manufacturer and panel, so there is no single "correct" number. The practical method is comparison, not an absolute threshold:
- Take three readings on a panel you know is original, the roof is usually the safest reference because it is rarely repaired.
- Take three readings across the repaired panel, spacing them from edge to center.
- Compare the averages, not a single spot reading.
- A repaired area usually reads higher than the factory baseline because primer, base coat, and clear coat were added.
- Very high readings, several times the baseline, suggest body filler under the paint.
Treat any readings as directional rather than as pass/fail cutoffs, because film build differs by plant and model.
Match the baseline material to the test panel
Watch out: gauges read differently on steel, aluminum, and plastic, and a steel baseline compared against an aluminum door will mislead you. Take your baseline on the same material as the panel you are testing. On aluminum panels, use an eddy-current or ultrasonic gauge; a magnetic gauge will not give you a usable number at all. Plastic bumper covers are the hardest case, many consumer gauges cannot read them reliably, so lean on visual and tactile checks there.
Record the numbers
Write down each reading with the panel name and date, and photograph the gauge display next to the panel. If you later dispute the repair with the shop or your insurer, a dated set of readings is far more persuasive than a memory of "it felt thick." Keeping a dated record of readings can help if you later need to discuss the repair with the shop or your insurer.
Check Panel Gaps, Trim, and Door Function After Repairs
Panel alignment tells you as much as the paint does. A repainted door that sits unevenly in its opening suggests the panel came off and went back on without proper adjustment. This is also where material differences show up: steel and aluminum panels expand and contract at different rates, and a shop that treated an aluminum hood like a steel one can leave gaps that change with temperature.
Measure the gap, do not just eyeball it
Use a consistent reference point, your index finger works, but a cheap plastic gap gauge or a set of feeler gauges is more repeatable. Slide it along each gap from top to bottom and note where it tightens or widens. The gap should stay even within a small tolerance; a gap that pinches at one end and opens at the other means the panel is not square in its opening.
Check trim, seals, and function
- Trim and moldings sit flush, with no lifting, gaps, or rattles when tapped
- Rubber seals are seated, pliable, and free of paint or overspray
- Doors close with a solid sound, not a rattle or a slam, and latch on the first try
Loose clips and misaligned moldings can show up later as wind noise or water leaks.
Photograph the gaps before you accept
Take a close-up photo of each gap with a coin or your finger in frame for scale, and note the date. If a gap later shifts or a seal starts leaking, that photo establishes the condition at pickup. Pair it with your paint gauge readings and you have a documented baseline that supports a rework request or an insurance re-inspection.
Paintless Dent Repair Factory Finish: What to Expect
Paintless dent repair keeps your original factory finish because nothing is sanded, filled, or repainted. A technician works the metal back from behind the panel, so the clear coat, base coat, and primer stay exactly as the manufacturer applied them.
Original paint on every panel can matter for resale, since buyers and inspectors often look for signs of repainting.
After a proper paintless dent repair, expect:
- No filler and no new paint on the panel
- Original color match, since the factory paint never changed
- A smooth surface with no texture difference
Our guide on preserving your factory finish after collision damage covers what a correct result should look like and how to protect it afterward.
Your Legal Rights and Next Steps If Repairs Fall Short
If the repair does not meet the standard you paid for, you have options. Consumers can often ask for faulty work to be corrected, and many insurance claims allow a re-inspection request.
Start with these steps:
- Document the defect with dated photos in good light.
- Put your complaint in writing to the shop.
- Ask your insurer for a supplement or re-inspection.
- Get a second opinion from an independent shop.
- Keep every receipt and message.
If your insurer paid the claim, they may pursue recovery from another party. Our walkthrough on filing a subrogation claim explains how that process works and what documents you will need.
Book a Free Paint and Dent Inspection at 888 PDR
A ten-minute inspection catches most paint problems before they cost you. If something looks off on your repaired car, or if you have hail damage or door dings you want fixed without repainting, we can take a look.
At 888 PDR, we are a family-owned paintless dent repair shop serving the Dallas-Fort Worth area and western Nebraska from Scottsbluff.
You can learn more about paintless dent repair in Dallas and see how the process works. Get started with 888 PDR and keep your factory finish intact.
Frequently Asked Questions
How can I tell if my car's paint quality after repairs is good?
Check for a uniform color match in both sunlight and shade, a consistent gloss level across panels, and a smooth surface without orange peel, dust nibs, or runs. Run your hand along the repaired area and adjacent panels; they should feel equally smooth. Look for overspray on trim, glass, and rubber seals. A paint thickness gauge can confirm whether the clear coat is within a normal range. If anything looks off, document it with photos and ask the shop to correct it before you accept the repair.
What are common signs of a bad auto paint job after collision repairs?
Watch for color that looks different under streetlights versus daylight, a dull or uneven gloss, visible sanding scratches, masking tape lines around edges, and paint on rubber moldings or window trim. Texture problems like orange peel or solvent pop, plus dust nibs and dirt in the finish, point to poor surface prep. Panel gaps that are uneven or doors that don't close smoothly can signal rushed reassembly. Any of these signs is a reason to ask the shop to fix the work before you sign off.
Can paintless dent repair preserve the factory finish?
Yes. Paintless dent repair factory finish preservation works because the process massages dents out from behind the panel without sanding, filler, or repainting. Your original clear coat and base coat stay intact, which protects resale value and avoids the color-match risks of a repaint. PDR is best for dents where the paint is not cracked or chipped. If the paint is broken, a traditional repair may be needed. Ask the shop to confirm the paint is intact before starting.
What should I do if I find paint defects after a repair?
Photograph the defects in daylight and note the location, then contact the shop in writing before the warranty period ends. Many shops may be willing to correct issues like runs, dust nibs, or color mismatch, so ask about your options in writing. If the shop is unresponsive, you may be able to contact your insurance company or a state consumer protection office for guidance. Keep your repair order, invoices, and all messages. Acting quickly preserves your options.
