
Last Updated: November 17, 2026
Quick Summary
Document collision repairs by building a chronological file from the scene photos through the final invoice, including estimates, supplements, teardown photos, alignment and calibration reports, the parts list, and the warranty. Organize it in a dated cloud folder with a one-page summary sheet so a buyer can verify the repair in under two minutes.
- Photograph all four corners, the odometer, and the VIN before the vehicle is towed.
- Keep every estimate version and supplement, not only the final one.
- Request teardown photos and alignment, scan, and calibration reports from the shop.
- Confirm the parts list separates new, used, and aftermarket components.
- Name files date-first in year-month-day format and back the folder up twice.
Table of Contents
- Why Collision Repair Documentation Protects Resale Value
- The Chronological Documentation Checklist for Collision Repairs
- Photo and Video Evidence Standards Buyers Actually Trust
- Collision Repair Invoice Requirements: What Must Be on Paper
- Paintless Dent Repair vs Body Filler Resale Value
- Diminished Value Claim Documentation: Separating Resale Prep From a Claim
- Organizing Digital Records So Buyers Can Verify the Repair
- Get a Free Inspection and Repair Documentation Review
- Frequently Asked Questions
Why Collision Repair Documentation Protects Resale Value
A complete paper trail for collision repairs is the single strongest tool you have for protecting resale value after a collision.
That distinction matters.
Documentation is not a chore you do after the repair. It is part of the repair.
- Diminished value is the gap between what your car was worth before the crash and what it is worth after.
- Repair records are evidence that can support your car's value.
- Buyer confidence is what you are really selling when you hand over a folder.
Below, we walk through exactly what to save, how to photograph it, and how to hand it to a buyer.
The Chronological Documentation Checklist for Collision Repairs
Documentation works best when you build it in order, from the first dent to the final handshake. This checklist is organized by repair stage so nothing gets collected too late.
Stage 1: At the Scene and Before the Tow
Start before anyone touches the car. Photograph all four corners, the damage close-up with a scale reference, the odometer, and the VIN on the dashboard, with the date and time saved on every image.
Collect the police report number and responding agency, the other driver's insurance information, and any witness names. These anchor the timeline for everything that follows.
Watch out: if the vehicle is towed, photograph it on the tow truck and note the tow company and destination.
Stage 2: Estimate, Insurance Authorization, and Supplement
Get a written estimate from the shop and keep the insurance estimate separately, buyers and adjusters want both.
Retain the repair authorization form you sign approving the work, and keep every supplement, the revised estimate a shop submits when hidden damage is found.
Keep the payment records too: the insurer's payment statement, any deductible you paid, and the final settlement letter.
Stage 3: Teardown and Hidden Damage
Ask for progress photos at teardown, when hidden damage is visible. This is the step most owners skip and the one that proves the repair was done right. Request photos of the bare structure before any new panel goes on, and ask the shop to note in writing what was found behind the damaged panels.
This is also the stage to collect repair-specific technical records that most owners never think to ask for:
- Alignment readings before and after the repair, if the vehicle was on a frame rack.
- Diagnostic scan reports showing pre- and post-repair fault codes, especially for vehicles with advanced driver-assistance systems.
- Calibration reports for cameras, radar, and sensors that were removed or affected by the repair.
- Structural measurements if the shop measured the unibody.
- Paint and materials records, including the paint code and the products used.
A shop willing to hand over these records is usually a shop that did the work carefully. If it cannot produce them, that absence is itself information.
Stage 4: Final Invoice, Parts, and Warranty
When the car is ready, collect the itemized invoice, the parts list, and the repair warranty. Confirm the parts list distinguishes new, used, and aftermarket components, because that distinction drives resale questions more than almost anything else on the invoice.
Do your own final inspection before you leave the lot. Our guide on how to inspect vehicle paint quality after repairs walks through what to look for so your final inspection notes are credible.
Stage 5: Post-Repair Verification and Resale Prep
After a few hundred miles, re-check the repaired area for fit, finish, and any new noises, and note what you find. If the shop offers a post-repair inspection, take it and keep the sign-off.
Then build the resale packet: a one-page summary, the before-and-after photo set, the final invoice, the parts list, the warranty, and the technical records from Stage 3.
Photo and Video Evidence Standards Buyers Actually Trust
Buyers trust photos that are dated, wide, and repeatable. A tight, blurry close-up proves nothing. A dated wide shot of the whole panel, followed by a close-up of the same spot, proves everything.
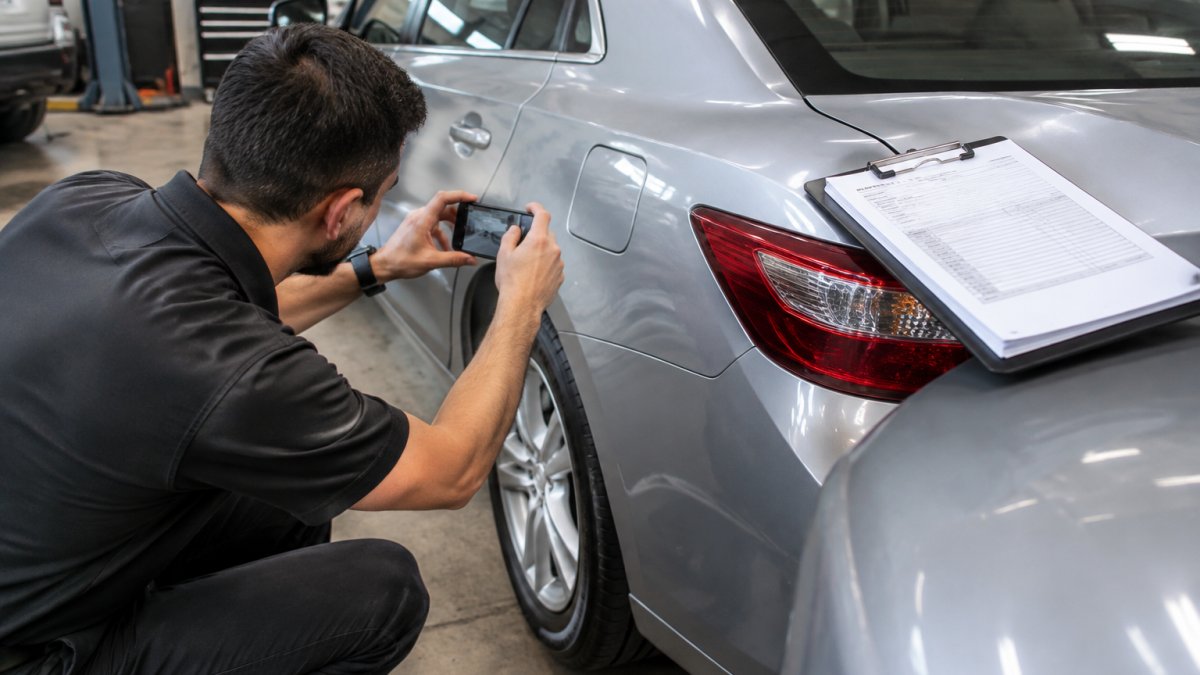
Follow these standards for every photo set:
- Wide first, then close. Show the whole panel, then the detail.
- Same angle before and after. Match the "after" shot to the "before" shot.
- Include a reference object for scale, like a coin or a ruler.
- Keep metadata on. Do not strip dates or edit the images.
- Shoot video in one unbroken take as you walk around the car.
For hail or multi-panel damage, our method for documenting hail damage for insurance is the same standard buyers respond to.
Collision Repair Invoice Requirements: What Must Be on Paper
A collision repair invoice must show the shop's name and contact info, your vehicle's VIN and mileage, the date, an itemized list of parts and labor, and the total. An itemized invoice also helps establish what was repaired if questions arise later about salvage title vehicle scams.
Here is what to check before you pay:
| Invoice Element | Why It Matters | Red Flag If Missing |
|---|---|---|
| VIN and mileage | Ties the work to your car | No VIN anywhere |
| Itemized parts | Proves new vs. used parts | "Parts" as one line |
| Labor hours and rate | Shows work performed | Lump-sum total only |
| Paint and materials | Documents finish work | No materials line |
| Warranty terms | Protects you later | No warranty in writing |
A common mistake is accepting a handwritten total on a business card. That document will not help you at resale, and it will not help with a diminished value claim either. Ask for the full itemized version, every time.
Paintless Dent Repair vs Body Filler Resale Value
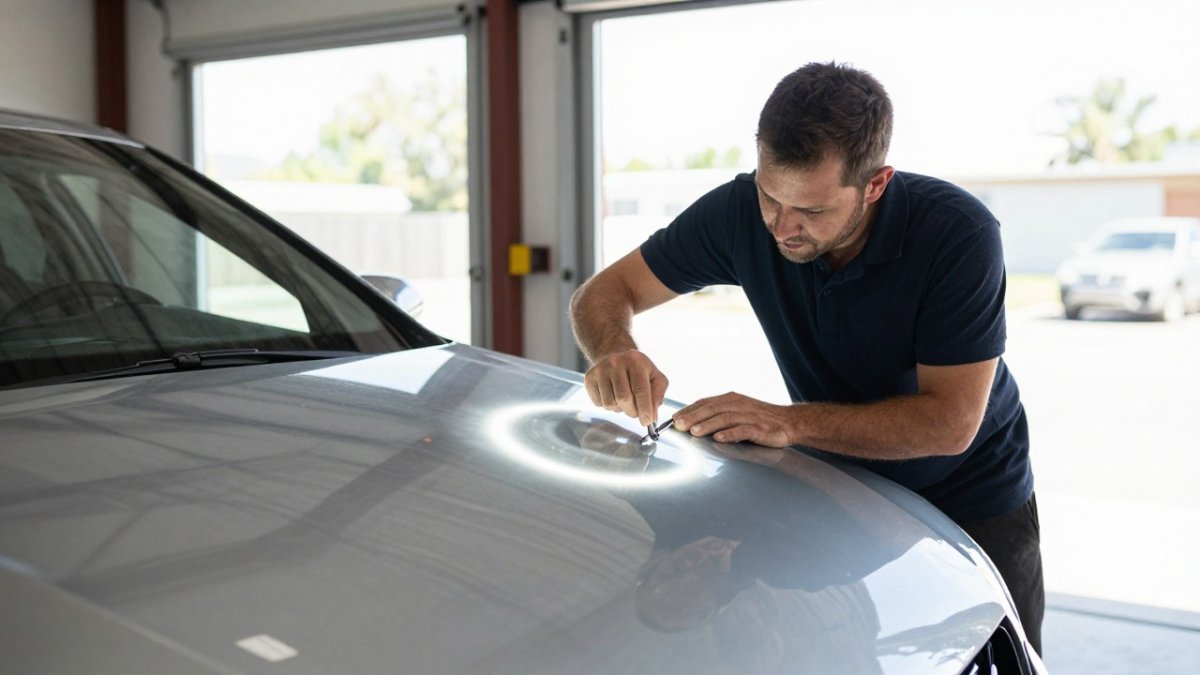
Paintless dent repair keeps your factory paint and avoids the filler-and-repaint cycle that buyers inspect for.
Paintless dent repair works the metal back into shape from behind, so the original finish stays intact.
For a deeper side-by-side on durability, turnaround, and resale impact, see our paintless dent repair vs body shop fillers guide.
The short version:
Neither approach lets you skip documentation. Even a perfect PDR repair needs photos and an invoice to count for anything.
Diminished Value Claim Documentation: Separating Resale Prep From a Claim
A diminished value claim is a formal demand for the value your car lost because of the accident, and it needs a different, tighter set of documents than resale prep. Do not mix the two.
For resale, you want a friendly, clear folder that builds buyer confidence. For a claim, you want evidence aimed at an adjuster: the pre-loss value, the post-repair value, a market comparison of comparable vehicles, and your full repair file.
Keep these separate:
- Resale folder: photos, invoice, warranty, clean summary sheet.
- Claim file: everything above plus valuation evidence and correspondence.
Rules on diminished value vary, so confirm what applies to you with the relevant insurance regulator before you file. Our guide on paintless dent repair for resale value explains how the repair method itself affects what buyers will pay, which supports both conversations.
Organizing Digital Records So Buyers Can Verify the Repair
Organize your records so a stranger can verify the repair in under two minutes. That is the gap most owners never close: they have the documents, but they are scattered across a phone, an email inbox, and a glovebox.
A Folder Structure That Survives a Sale
Use one cloud folder for the vehicle, named by year, make, model, and VIN, and build subfolders in the order a buyer will read them:
- 01 Before Photos
- 02 Estimates and Insurance Authorization
- 03 Progress and Teardown Photos
- 04 Technical Records (alignment, scans, calibrations, paint and materials)
- 05 Final Invoice and Parts
- 06 Warranty
- 07 Correspondence
- 08 Summary Sheet
Name every file with the date first in year-month-day format, then the document type, then a short descriptor, for example, 2026-03-14_invoice_final.pdf or 2026-03-02_photo_rear-quarter-after.jpg. A consistent name means a buyer can sort by date and follow the repair from start to finish without opening a single file.
Preserve the Originals
Keep the original image files with their metadata intact. Do not strip dates, do not crop the only copy, and do not let a messaging app compress the photos you rely on.
Back the folder up in a second location. A phone that dies with the only copy of your repair photos is a resale problem waiting to happen.
Watch out: if you edit or annotate a photo, save it as a separate copy and keep the untouched original beside it.
The One-Page Summary Sheet
Write a one-page summary sheet: date of damage, shop name and contact, what was repaired, parts used, technical records available, and warranty terms.
Keep the summary factual. State that the vehicle was repaired after a collision and let the records speak for themselves. Documentation explains an accident history; it does not erase one, and a summary that implies otherwise will cost you trust at exactly the wrong moment.
Presenting the Packet to a Buyer
When a buyer asks about the repair, hand over the summary sheet first, then offer the folder. Walk them through the before-and-after photos in order, point to the technical records, and let them keep a copy.
If you are the one buying, our guide on how to inspect a used car for hidden body damage shows why organized records make that inspection faster and friendlier.
Get a Free Inspection and Repair Documentation Review
The hard part of documentation is not the filing. It is having complete records to file in the first place.
We can help before that happens. 888 PDR is a family-owned paintless dent repair shop, and we handle the paperwork side of a repair as carefully as the metal.
We also offer vehicle pickup and delivery and rental assistance, so a repair does not stall your week.
A documented repair is worth more than an undocumented one, every time.
Frequently Asked Questions
What documentation should I keep after a collision repair?
Keep the written estimate, the final itemized invoice, proof of payment, before-and-after photos, and any insurance authorization or supplemental estimate paperwork. Save the repair warranty too. Together these records show what was damaged, what was replaced, which parts were used, and who did the work. Store digital copies in a folder labeled with the date and mileage so a future buyer can review the file without digging through email.
How do I prove that paintless dent repair was used instead of body filler?
Ask the shop for a written invoice that names paintless dent repair as the method and lists no filler or repaint line items. Pair that with close-up photos of the panel before and after, taken at an angle that shows reflections. A paint depth gauge reading taken by a pre-purchase inspector can also confirm the factory finish is intact. Together, the invoice and photos answer the paintless dent repair vs body filler resale value question directly.
Does a documented collision repair help or hurt resale value?
Documented repairs generally help. An accident history will appear on a vehicle history report regardless, so the question buyers ask is how well the car was fixed. A complete file with a written estimate, itemized invoice, parts list, and before-and-after photos supports buyer confidence and can reduce the discount a shopper negotiates. An undocumented repair leaves the buyer guessing, which usually costs more at resale.
What is a diminished value claim and how do I document it?
A diminished value claim asks an insurer to pay for the market value your car lost because it now has an accident history, even after a proper repair. Documentation typically includes the pre-accident value, the post-repair value, the itemized repair invoice, photos, and a market comparison of comparable vehicles. Keep this file separate from your resale paperwork. Diminished value claim documentation supports an insurance claim, while your repair records support a future sale.
